1 Chapter
3D CAD Modeling of Furniture Using Inventor: Best Practices
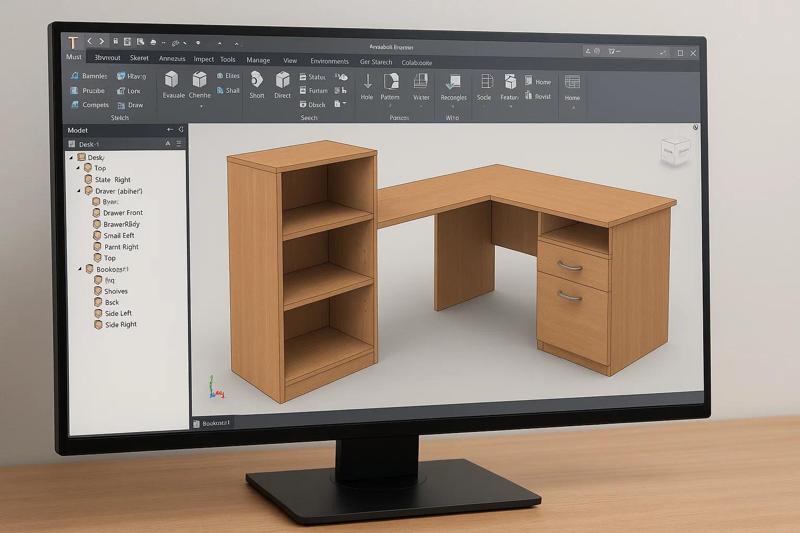
In the world of modern furniture design and manufacturing, 3D CAD modeling plays a pivotal role in transforming ideas into precise, buildable products. Among the leading software platforms for this task, Autodesk Inventor stands out due to its robust parametric design tools, mechanical simulation capabilities, and detailed documentation features. In this article, we’ll explore best practices for 3D CAD modeling of furniture using Inventor, helping you streamline workflows, minimize errors, and produce high-quality designs ready for fabrication. Why Use Autodesk Inventor for Furniture Design? Autodesk Inventor is a professional-grade mechanical design software used across industries for product development. While primarily geared toward engineering, it is also an excellent tool for furniture modeling due to: Parametric modeling capabilities – Ideal for customizable furniture Assembly modeling – Create realistic joints and multi-part furniture Detailed drawings and BOMs – Generate shop drawings directly Simulation tools – Analyze load, stress, and motion iLogic automation – Create smart, rule-driven furniture models Best Practices for Furniture Modeling in Inventor 1. Start with a Clear Design Intent Before launching Inventor, define the purpose, function, and constraints of the furniture piece. Consider: Target audience and use-case (residential, commercial, ergonomic needs) Materials (wood, metal, glass, etc.) Standard sizes and adjustability This foundation helps in selecting the right modeling approach and parameterizing key dimensions. 2. Use Parametric Design Principles One of Inventor’s biggest strengths is its parametric modeling engine. Use it to: Create master sketches with named parameters Apply constraints (dimensions, alignments, symmetry) for design intent Link parameters between parts for dynamic assemblies This makes updating your furniture design fast and error-free. Example: When designing a table, link the height, top dimensions, and leg spacing so changes automatically reflect throughout the model. 3. Build Multi-Part Assemblies Inventor allows you to create assemblies to show how furniture components come together. Design parts individually, then insert into an assembly Use joints and constraints to replicate actual movements or alignments Avoid hardcoding dimensions; instead, use shared parameters This enables accurate modeling of hinges, drawer slides, fasteners, and other mechanical elements. 4. Apply Materials and Appearance Assign real-world materials to each part for accurate visuals and weight calculations: Use Inventor’s built-in material library (e.g., hardwood, MDF, metal) Customize appearance for wood grain, textures, or finishes Enable real-time rendering or export to 3ds Max or Fusion 360 for high-end visuals This step is essential for client presentations, marketing renders, or virtual reality walkthroughs. 5. Generate Detailed Drawings and BOMs Once your model is complete, create 2D production drawings and Bills of Materials (BOMs): Use the Drawing environment to place views, dimensions, and annotations Automate parts lists and quantity takeoffs Include hardware callouts, edge banding notes, or joinery details These are essential for manufacturing, especially if you’re working with CNC machinery or outsourcing fabrication. 6. Use iLogic for Smart Furniture Designs Inventor’s iLogic lets you automate model behavior using rules and logic. Create configurations (e.g., different widths or drawer counts) Add if-then rules for design constraints (e.g., “If table length > 1800mm, add center leg”) Build user interfaces for model customization This is especially useful for companies offering custom furniture solutions at scale. 7. Simulate and Validate Design For heavy or load-bearing furniture, use simulation tools: Static stress analysis to check for structural integrity Motion simulation for moving parts (e.g., recliners, extendable tables) Material optimization to reduce weight/cost while maintaining strength Validation during the design phase avoids costly errors in production. Tips for Efficiency and Accuracy Use templates with pre-set units, layers, materials, and title blocks Organize your browser – name sketches and features for clarity Avoid unnecessary detail in early modeling stages to speed up performance Save versions and backups regularly to avoid data loss Applications of Furniture Modeling in Inventor Residential Furniture: beds, wardrobes, sofas, dining tables Office Furniture: desks, cubicles, conference tables, ergonomic chairs Retail Fixtures: display units, counters, shelving systems Custom Joinery: built-in units, cabinetry, vanities Final Thoughts By leveraging the power of Autodesk Inventor and following these best practices, furniture designers and manufacturers can accelerate product development, reduce prototyping costs, and deliver precise, high-quality designs that meet both aesthetic and functional requirements. Whether you’re creating bespoke pieces or scaling up production, adopting an optimized 3D CAD modeling workflow is essential for success in today's competitive furniture industry. Need Professional 3D Furniture Modeling Help? At Shalin Designs, we specialize in 3D CAD furniture modeling using Inventor, delivering accurate, manufacturable models tailored to your design needs. Contact us today for a free consultation!
- Ongoing Story

Write a comment ...